Once you have customized your HRA and set up your Follow-up Plan, it’s time to build a URL for your HRA. To get started, click the Build a URL link within your HRA’s module on the dashboard.

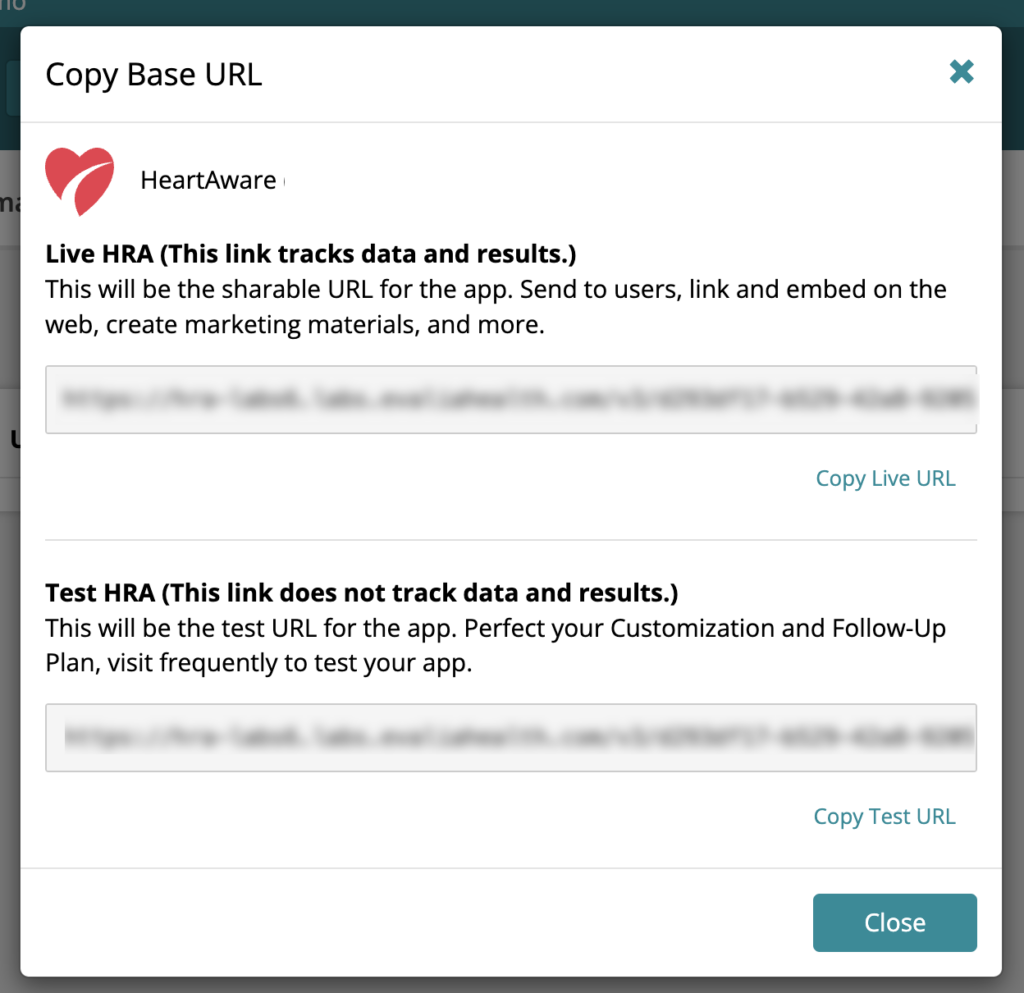
In the URLs section of Portal, you will see a table and 2 buttons. You can copy your HRA’s base URL with the Copy Base URL button. This is the URL assigned to your HRA by default.


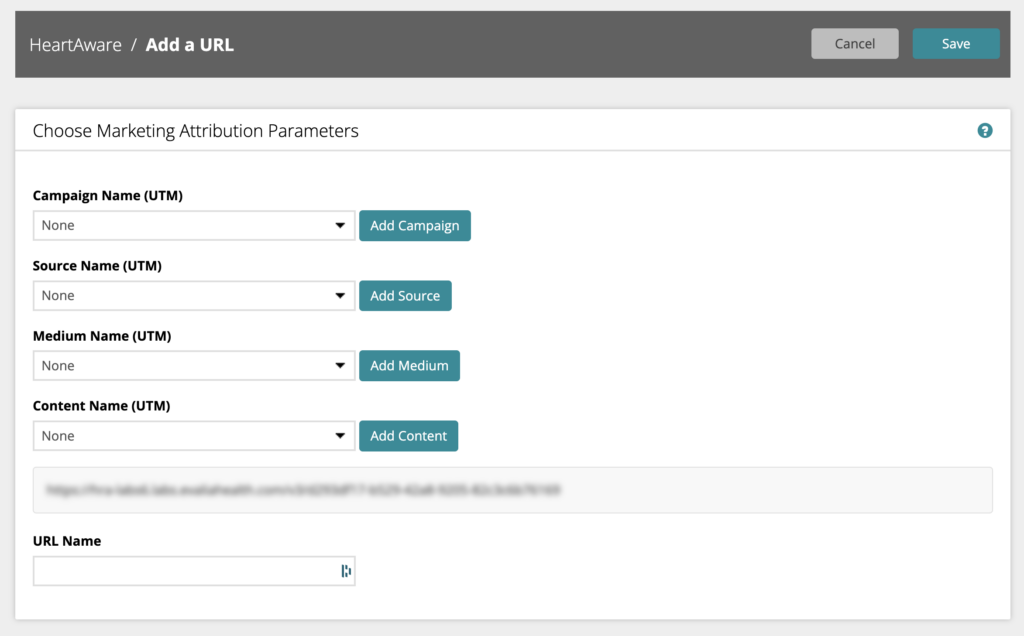
To create a URL with marketing attribution (UTM) parameters, click the +Add a URL button.
The first step is to create and select your marketing attribution parameters. For each of the parameters types (Campaign, Source, Medium or Content), you can create a new name or select from previously created names in the dropdown menu.
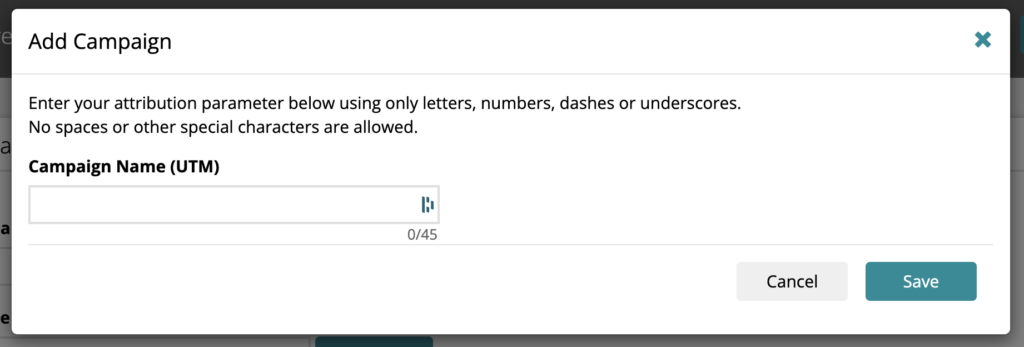
To create a new parameter name, click the Add button and complete the form. After you save your parameter, it will appear in the dropdown menu for that parameter type.


Repeat this step for all the parameter types you wish to use. Be sure to select the parameter names you want to include in the URL. Your URL will update as you make selections.
Note: HRAs will listen for other marketing attribution parameter types as well. You can manually add them to the URL before saving. For a full list of available parameter types, click the More Info (?) link on the URLs page.
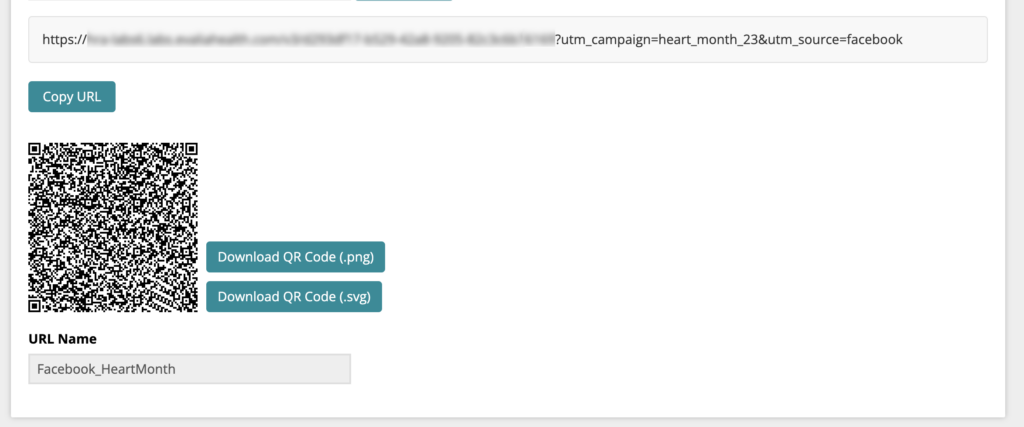
Once you are finished, give your URL a name. Be sure it’s descriptive so that you can identify it when sharing. Click the Save button.
Your HRA’s URL is now ready to be copied and used on your organization’s website. You can copy the URL to the clipboard or download a QR code to promote your HRA.

Click the Back button to return to the URLs table. Your newly created URL will be displayed in the table, where it can be copied, viewed or archived. URLs cannot be edited once created.

Learn more about Marketing Attribution Parameters…
Learn more about Routing Pages…

