
In order to support our clients utilizing HRAs across various locations of their organization, we have created a feature called the “Routing Page.” This page precedes the HRA Splash Page and serves as a mechanism to direct users to the most suitable geographic location for their needs.
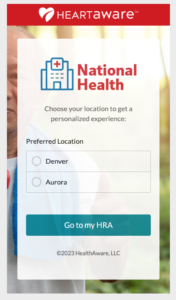
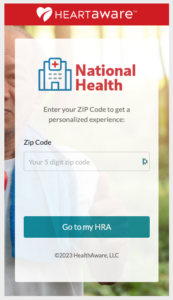
Routing Pages can be configured to direct users to an HRA based on ZIP Codes or a designated location. Users input their ZIP Code or select from a list of designated locations, and are then sent to the corresponding HRA linked to their chosen location.
Examples of Routing Pages:
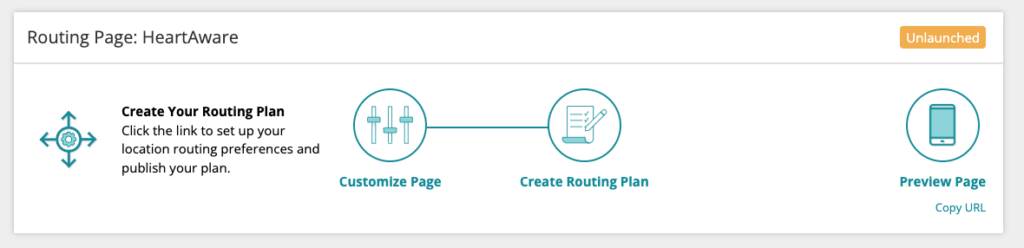
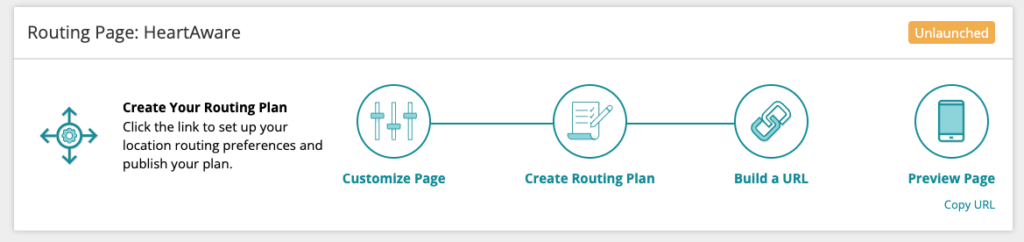
If your organization is utilizing Routing Pages, you will first see the page displayed on the Portal dashboard, similar to a new, unlaunched HRA. Each Routing Page is associated with a specific HRA type and can be configured using the familiar 3-step process used for setting up HRAs.
Step 1: Customizing your Routing Page
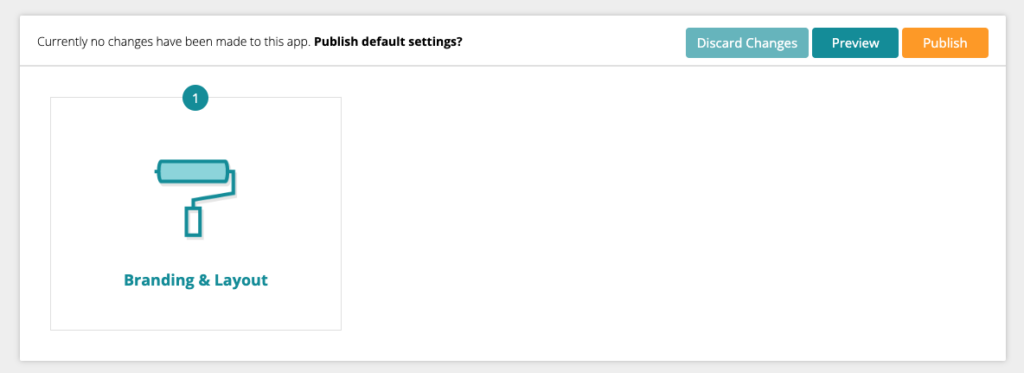
On the Routing Page’s dashboard module, click the Customize Page link.

This will open the Customization section. Click the Branding & Layout tile to get started.
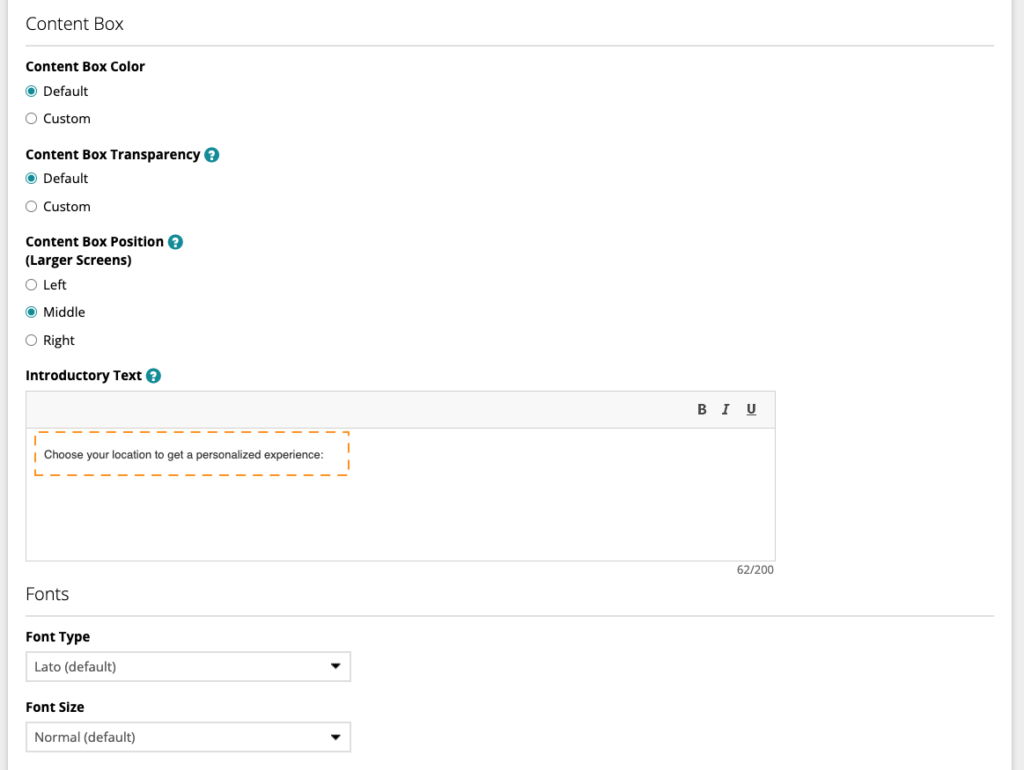
Here you can customize primary interface color, background image, logos, layout and fonts.
You will also need to edit the Introductory Text that corresponds to the type of Routing Plan you are planning to use: ZIP Code or Location selection. This text appears below the logo and above the routing option fields. Default text is shown below for a plan utilizing Location selection.
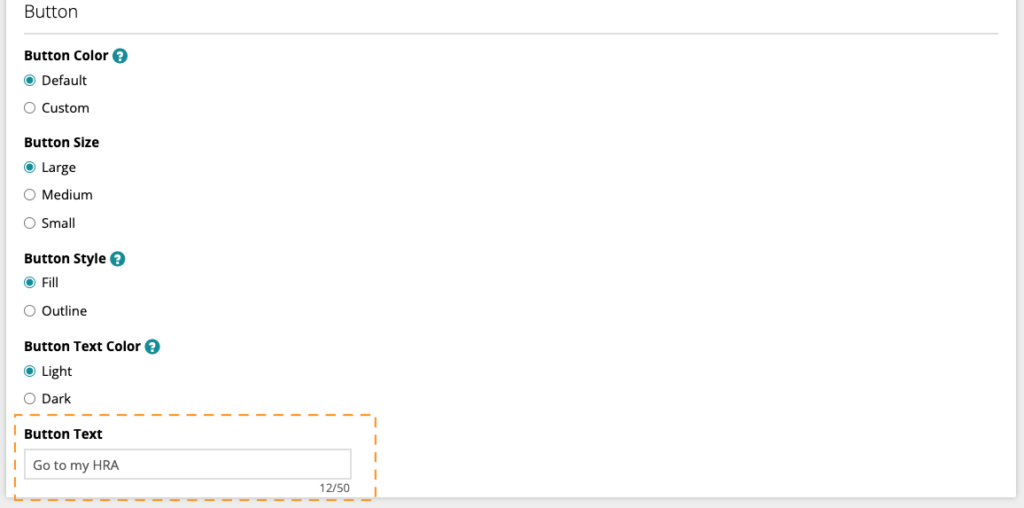
Finally, you can edit the text that appears on the button users click to go to a corresponding HRA. Again, default text is provided for you.
Once you’ve finished customizing your Routing Page, click the Save Changes button and be sure to Publish your page to complete this step.
Step 2: Create Your Routing Plan
Navigate back to the dashboard and to your Routing Page module. Next, click the Create Routing Plan link. This will open the Routing Plan section where you will determine the type of routing you want to use.
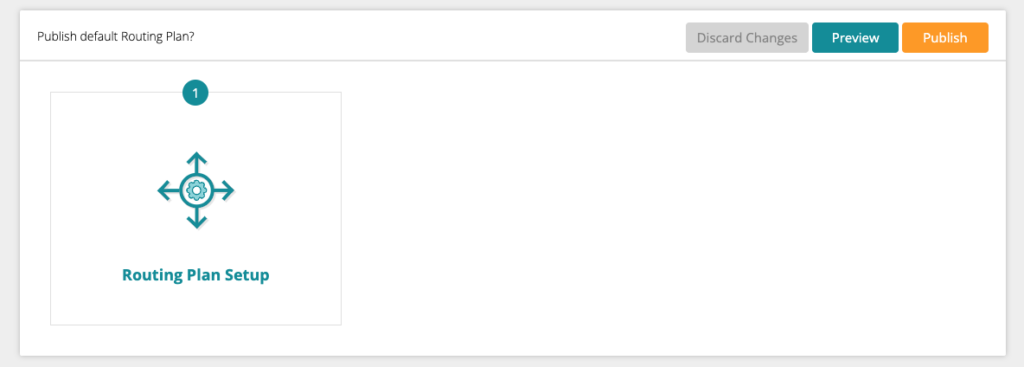
To get started, click the Routing Plan Setup tile.
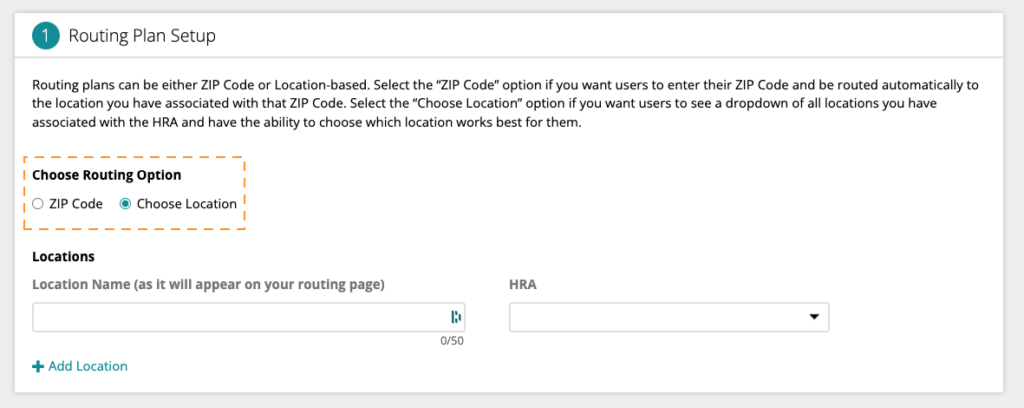
Next, select the type of routing option you would like to use: ZIP Code or Choose Location (default).
Choose Location Option
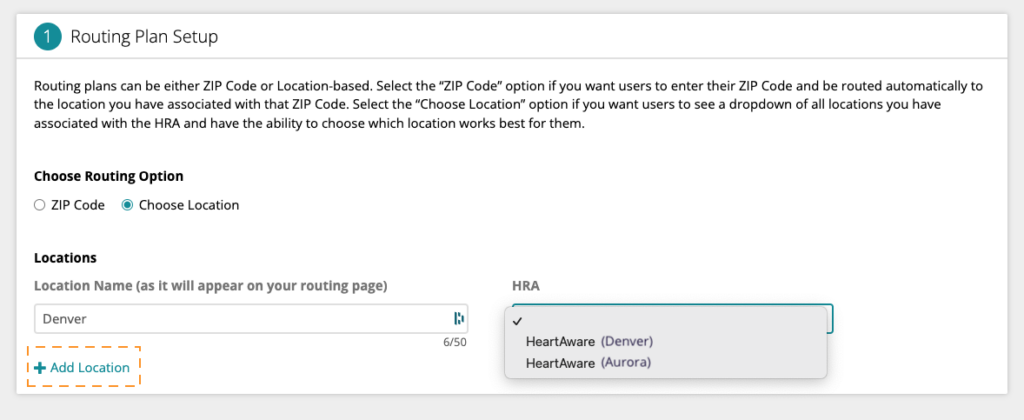
To display a list of specific locations, type in a Location name and then select the HRA to associate with the location from the dropdown menu on the right. All available locations for the HRA type will be displayed in the dropdown.
To add each additional location, click the + Add Location link and repeat the steps above for as many locations as you need.
Note: To prevent the Routing Page from scrolling on a mobile device, we recommend a maximum of 3-4 locations per Routing Page. A ZIP Code-based routing plan may be a better option for organizations with more than 4 locations per HRA type.
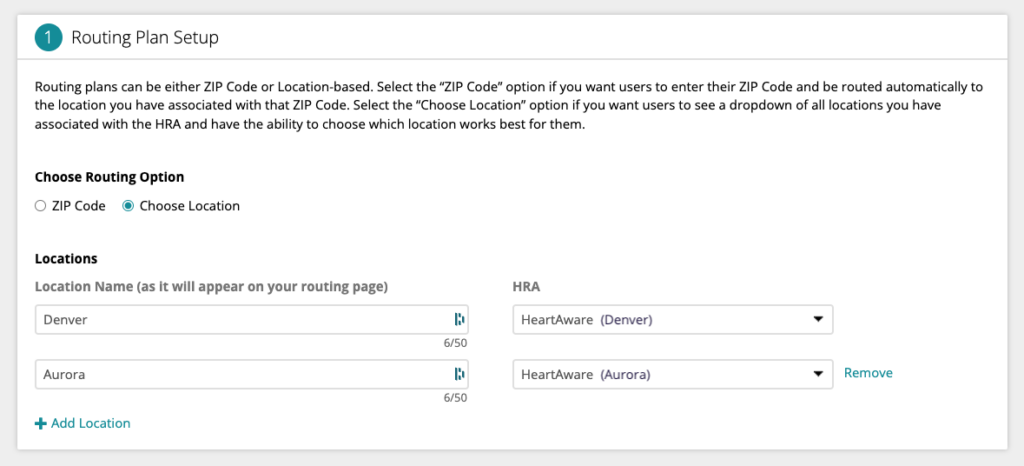
When you’ve finished adding locations, click the Save Changes button and Publish to complete your Routing Plan.
ZIP Code Routing Option
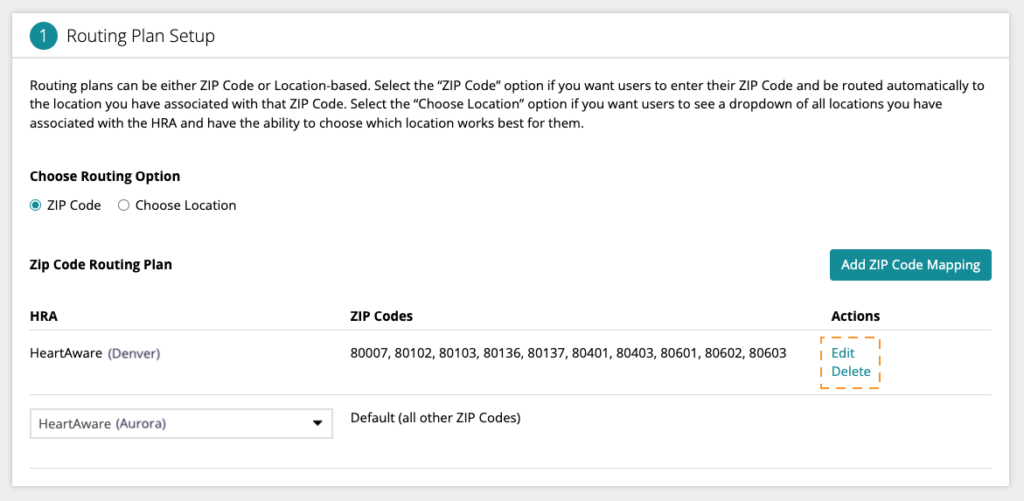
To set up a ZIP Code-based routing plan, select ZIP Code from the Routing Options. The ZIP Code Routing Plan setup page will display.
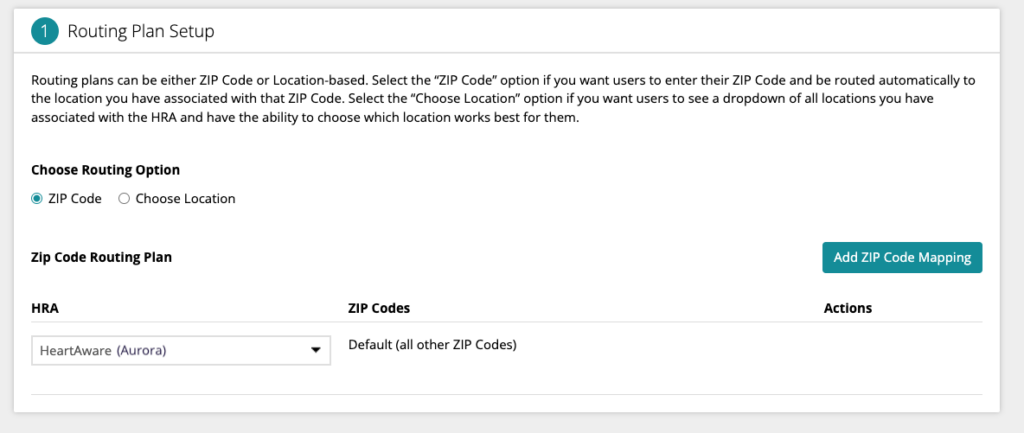
By default, the first HRA location in the dropdown menu will map to all ZIP Codes. To map an HRA to a specific ZIP Code or set of ZIP Codes, click the Add ZIP Code Mapping button.
In the pop-up window, select the HRA location from the dropdown menu. Next, you can manually enter ZIP Codes into the box (comma-delimited), or you can upload a CSV file of all ZIP Codes for the location you are mapping to. We’ve included a link to a template for you to use if uploading a CSV file.
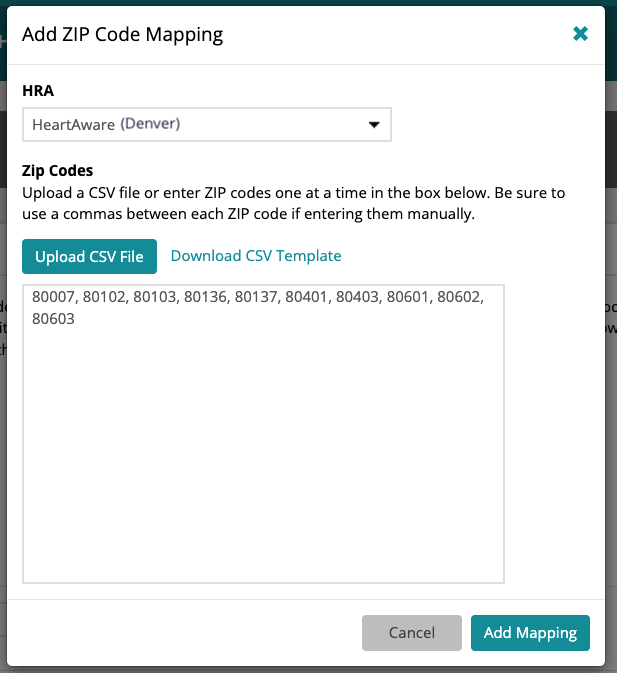
When finished, click the Add Mapping button. You will now see your ZIP codes displayed next to the HRA location in the table.
You can repeat these steps for any additional HRA locations. Make any changes by clicking the Edit or Delete links in the Actions column.
Note: To ensure users are directed to one of your locations if they input a ZIP Code that falls outside of your specified mappings, you will need to have a single HRA associated with all other ZIP Codes.
When finished, click the Save Changes button and Publish to complete your Routing Plan.
Step 3: Build a URL
Return to the dashboard module for your routing page to build your page’s URL. Click the Build a URL link.
This step is identical to building a URL for an HRA. You can utilize the Base URL that is provided automatically, or add marketing attributions for a custom URL.
See About Building URLs for more information.
Reporting for Routing Pages
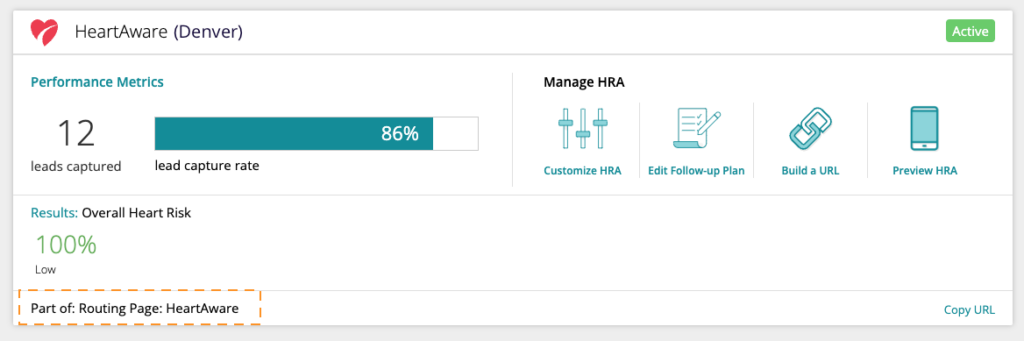
Once your Routing Page is live and has received traffic, the dashboard module will update to show performance metrics and Manage Page links, similar to the HRA modules. While HRAs display Leads Captured metrics, Routing Pages will display the Conversion Rate.
Any HRAs that you attach to a Routing Page will update to display text in the module that identifies the Routing Page with which it is associated.
If you are interested in adding Routing Pages for your HRAs, please contact your Client Success Representative.
Dashboard Overview
Learn more about HRA Customization
Learn more about Building URLs
Launching Your HRA in 3 Easy Steps
